
RV Maintenance 101: Essential Tips for 5th Wheel Owners
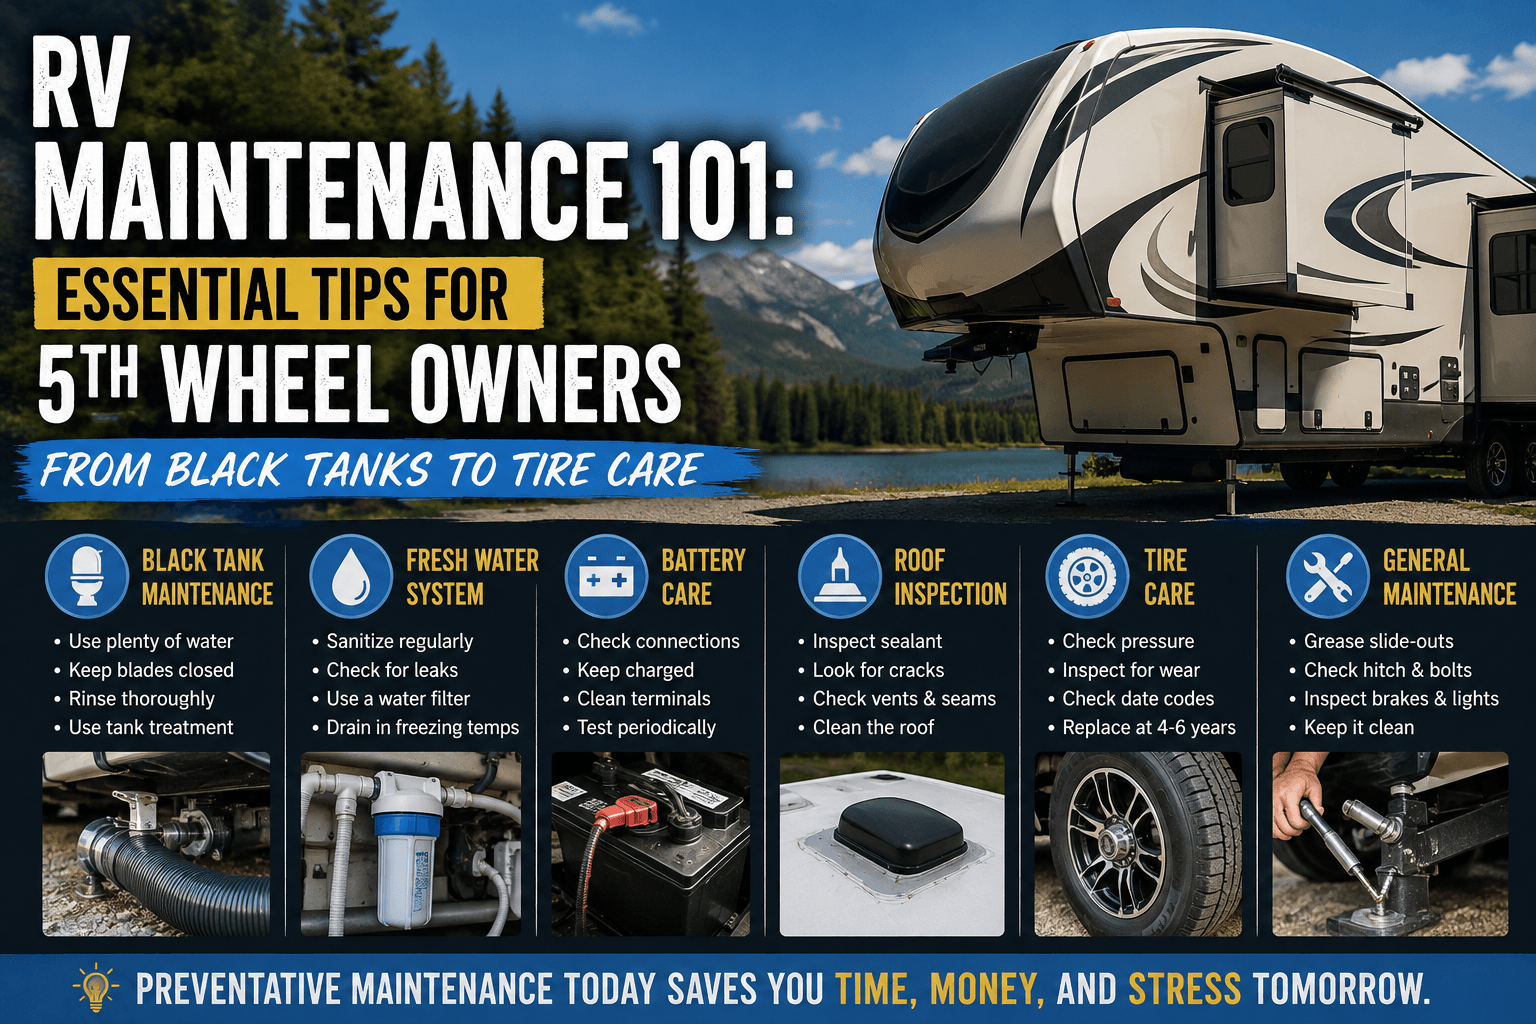
RV Maintenance 101: Essential Tips for 5th Wheel Owners
Owning a 5th wheel gives you an incredible amount of freedom, but it also means you’re responsible for maintaining a small house that gets shaken down the highway every time you travel.
That sounds intimidating at first.
The good news is that most RV maintenance isn’t complicated. A lot of it comes down to paying attention, inspecting things regularly, and fixing small problems before they become expensive ones.
After spending enough time on the road, you start realizing that preventative maintenance isn’t really about trying to keep your RV perfect.
It’s about keeping little issues from ruining a trip.
Here are some of the biggest things we watch on our own 5th wheel.
- Take Care of the Black Tank Before It Becomes a Problem
Black tank maintenance has a reputation for being complicated, but the basics are pretty simple.
The biggest thing is water.
You want plenty of water in the tank so waste can break down and move when it’s time to dump.
If you’re connected to full hookups, keep the black tank valve closed until you’re ready to dump. Leaving it open allows liquids to drain away while solids can stay behind.
That’s how you can end up with the dreaded black tank pyramid.
Our basic routine is:
- Keep the black tank valve closed during normal use.
- Dump when the tank has enough volume in it.
- Dump the black tank before the gray tank.
- Use the tank flush if your RV has one.
- Let plenty of water run through it.
- Dump the gray tank afterward to help rinse the sewer hose.
- Put some water back into the black tank when you’re done.
A tank treatment can help with odors and waste breakdown, but it shouldn’t replace using enough water.
Signs Your Black Tank Needs Attention
Watch for:
- Slow draining
- Odors inside the RV
- Tank sensors that constantly show full
- Waste backing up toward the toilet
- A flush system that suddenly doesn’t seem effective
Black tank problems are much easier to deal with early than after everything has hardened inside the tank.
- Inspect the Roof Often
Your roof is one of the most important areas of the RV to inspect because water damage can spread a long way before you notice it inside.
We’ve learned not to assume a roof is fine just because it’s relatively new.
Check around:
- Roof vents
- Skylights
- Air conditioners
- Plumbing vents
- Antennas
- Solar mounts
- Roof seams
- Ladder mounts
- Anything else screwed or mounted through the roof
Look closely at the sealant.
You’re watching for:
- Cracks
- Tears
- Separation
- Thin spots
- Pinholes
- Sealant pulling away from a fixture
Self-leveling sealant can usually be repaired pretty easily if you catch the problem early.
A ten-minute roof inspection is a lot easier than repairing water-damaged walls or flooring later.
- Know What Kind of Roof You Have
Not every RV roof is maintained exactly the same way.
Membrane roofs, such as TPO or EPDM, need cleaners that are safe for that material.
Fiberglass roofs have their own cleaning and care needs.
Regardless of roof type, the important areas are usually the penetrations and seams where water can get through.
Know what materials your RV manufacturer used before applying cleaners, coatings, or sealants.
- Don’t Ignore Your Trailer Tires
Trailer tires are one of the maintenance items I pay especially close attention to.
Before traveling full-time, I worked as an assistant at Discount Tire, and one thing I saw often was people focusing completely on tread depth.
With trailer tires, tread is only part of the story.
Trailer tires often sit for long periods of time. Rubber continues to age even if the tire isn’t accumulating many miles.
Personally, I don’t like going beyond about four years on trailer tires, even if the tread still looks good.
That’s more conservative than some recommendations, but I’d rather replace a trailer tire early than deal with a blowout that tears up the side of the RV.
Check Trailer Tires For:
- Sidewall cracking
- Dry rot
- Bulges
- Tread separation
- Uneven wear
- Cuts
- Abnormal tread patterns
- Correct inflation
Run your hand carefully around the tread and look for raised areas or places where the tire no longer appears perfectly round.
Those can be signs of separation.
- Learn to Read Tire Date Codes
Every tire has a DOT date code.
The last four numbers tell you when the tire was manufactured.
For example:
1825
That means the tire was manufactured during the 18th week of 2025.
The manufacturing date matters more than the date you bought the tire.
A “new” tire may have already spent quite a bit of time sitting in a warehouse before you purchased it.
And don’t forget your spare.
It ages too, even if it has never touched the pavement.
- Check Tire Pressure Before Travel Days
Check trailer tire pressure when the tires are cold.
Don’t rely on how the tire looks.
A heavy trailer tire can be significantly underinflated without looking obviously low.
Use the appropriate pressure for your tire and load combination.
A TPMS is also one of our favorite pieces of safety equipment because it can give you an early warning about:
- Falling pressure
- Rapid air loss
- Abnormally high temperature
- A tire problem developing while you’re driving
Catching a problem before a tire comes apart can save you from a lot of damage.
- Check Your Lug Nuts
Lug nuts deserve more attention than they usually get.
Any time a wheel has been removed or installed, follow the wheel or RV manufacturer’s recommended torque procedure.
That includes after:
- Tire replacement
- Brake service
- Bearing service
- Wheel replacement
Use a torque wrench.
Don’t assume an impact gun got everything exactly right.
- Pay Attention to Wheel Bearings
Wheel bearings carry an enormous amount of load, and they’re doing it while spinning for hours at highway speeds.
Follow the maintenance interval recommended by your axle manufacturer.
Look for warning signs such as:
- Excessive wheel play
- Grinding
- Grease leaking from the hub
- One hub getting much hotter than the others
- Unusual noises
Checking hub temperatures during fuel stops can be a useful habit.
You’re mostly looking for one wheel that’s dramatically different from the rest.
- Keep Your Trailer Brakes Working Properly
Your truck might be capable of pulling your RV, but the trailer still needs to help stop itself.
Pay attention to how the brakes feel.
Warning signs include:
- Weak braking
- Pulling
- Grabby brakes
- Uneven braking
- Needing significantly more brake controller gain than usual
- Strange noises from a wheel
Brake adjustment and service requirements depend on the axle and brake system installed on your trailer.
Don’t wait until braking feels terrible before inspecting them.
- Inspect the Suspension
Every once in a while, crawl underneath the trailer and actually look at the suspension.
Check:
- Leaf springs
- Shackles
- Spring hangers
- Equalizers
- U-bolts
- Bushings
- Wet bolts if equipped
Look for:
- Cracks
- Bent components
- Loose hardware
- Missing hardware
- Unusual wear
- Metal-to-metal contact
Heavy 5th wheels put a lot of stress on these components, especially when traveling across rough roads.
- Inspect and Maintain Your Slides
Slides add a huge amount of living space, but they’re another mechanical system that needs attention.
Keep the slide mechanism clean and follow the manufacturer’s lubrication instructions for your particular system.
More importantly, watch for changes.
If a slide suddenly:
- Moves slower
- Sounds different
- Moves unevenly
- Jerks
- Stops in a different position
Pay attention.
That change is often your first warning that something needs adjustment.
Also inspect the rubber seals around the slide for:
- Tears
- Cracking
- Folding
- Gaps
- Areas that aren’t making contact
A damaged slide seal can turn into a water leak pretty quickly.
- Check Your Freshwater System
Plumbing leaks are another one of those problems that can quietly cause a lot of damage.
Periodically look around:
- Water pump
- Water heater
- City water connection
- Freshwater tank
- Faucets
- Toilet connections
- Outdoor shower
- Water filters
- Visible PEX fittings
Pay special attention inside cabinets.
A slow leak can soak wood for weeks before water finally becomes visible somewhere else.
- Sanitize the Freshwater System
Your freshwater tank and plumbing should be sanitized periodically according to your RV manufacturer’s recommendations.
This is especially worth doing:
- After long-term storage
- After the system has sat unused
- If water develops an unusual smell or taste
- At the beginning of a travel season
A water filter is useful too, especially when you’re filling from a lot of different campgrounds.
- Maintain the Water Heater
Water heater maintenance depends on what type of system your RV has.
Some traditional RV water heaters use an anode rod.
Others don’t.
If yours has one, inspect and replace it when needed.
Sediment can also accumulate in tank-style water heaters, so periodic flushing may be necessary.
If you have a tankless system, follow the manufacturer’s maintenance procedure instead.
- Keep an Eye on the Batteries
Battery maintenance depends on whether your RV uses:
- Flooded lead-acid
- AGM
- Lithium
But every setup benefits from basic inspections.
Check:
- Terminals
- Cable tightness
- Corrosion
- Damaged wires
- Battery mounting
- Unusual heat
If you have a battery monitor, get used to what your normal power usage looks like.
That makes it much easier to recognize when something starts behaving differently.
- Inspect the Hitch Before Every Travel Day
The connection between the truck and trailer deserves a quick inspection every single time you move.
Depending on your setup, check:
- Gooseneck ball
- Fifth-wheel hitch jaws
- Hitch hardware
- Pin box
- Safety chains if applicable
- Breakaway cable
- Electrical connector
- Mounting bolts
Don’t just assume everything is correct because you hitched up successfully.
Look at it.
A one-minute inspection is worth it.
- Test Your Lights and Trailer Brakes
Before pulling out:
- Test brake lights
- Test turn signals
- Test running lights
- Verify trailer brakes are responding
This is one of the easiest habits you can build.
Have one person stand behind the RV while the other operates the lights from the truck.
- Watch Your Propane System
Propane deserves respect.
Regularly inspect visible hoses and connections for damage, cracking, or deterioration.
Make sure your propane and carbon monoxide detectors are working and replace them according to the manufacturer’s service life.
If you smell propane or suspect a leak, shut the system down and have it properly inspected.
That’s not an area where guessing is worth it.
- Exercise Equipment That Sits
RVs don’t always benefit from sitting unused.
If you’re parked for a long time, periodically operate systems such as:
- Slides
- Awning
- Generator
- Water pump
- Appliances
Follow the manufacturer’s recommendations for anything mechanical.
Using equipment occasionally can help you discover a problem before you’re depending on it during a trip.
- Do a Walk-Around Before Every Travel Day
This is one of the easiest and most valuable maintenance habits we have.
Before leaving, walk around the entire RV.
Don’t rush it.
Look up.
Look underneath.
Look at every tire.
Check the hitch.
Make sure:
- Slides are completely retracted
- Awning is secured
- Steps are in
- Landing gear is raised
- Storage doors are latched
- Power cord is disconnected
- Water hose is disconnected
- Sewer hose is stored
- Windows are closed
- Roof accessories look normal
- Tires look normal
- Nothing was left underneath the RV
That final walk-around catches an amazing number of problems.
Materials & Tools You’ll Need:
You don’t need a professional shop to handle most preventative RV maintenance.
A good basic kit can include:
- Tire pressure gauge
- Tire tread depth gauge
- TPMS
- Portable air compressor
- Torque wrench
- Socket set
- Breaker bar
- Screwdrivers
- Pliers
- Adjustable wrench
- Multimeter
- Flashlight
- Inspection mirror
- Wheel chocks
- Work gloves
- Disposable gloves
- Freshwater-safe hose
- Water pressure regulator
- Water filter
- Sewer hose and fittings
- Black tank treatment
- Roof-safe cleaner
- Dicor self-leveling lap sealant
- Dicor non-sag sealant
- Plastic scraper
- Microfiber towels
- Appropriate slide and seal maintenance products
- Electrical contact cleaner
- Spare fuses
- Basic spare hardware
Over time, you’ll figure out which tools make sense for your particular RV.
Fix the Small Stuff While It’s Still Small
An RV spends its life:
- Vibrating
- Flexing
- Heating up
- Cooling down
- Sitting in the sun
- Driving through rain
- Bouncing over rough roads
Things are eventually going to loosen, crack, wear out, and need attention.
That’s just part of RV ownership.
The goal isn’t to make sure nothing ever breaks.
The goal is to notice the little warning signs before you’re sitting on the side of the highway wondering how something turned into such a big problem.
A tube of sealant is cheap.
A water-damaged wall isn’t.
A new tire is manageable.
A blown tire that destroys the RV skirting isn’t nearly as fun.
Final Thoughts
You don’t need to be a professional RV technician to take good care of a 5th wheel.
You just need to know your rig.
Learn what normal looks like.
Pay attention when something starts behaving differently.
Check the roof.
Look at the tires.
Inspect the hitch.
Crawl underneath occasionally.
Open the cabinets and look for leaks.
Most importantly, don’t ignore something because it seems minor.
Preventative maintenance isn’t the most exciting part of RV life, but it’s one of the things that makes the fun part possible.
The fewer surprises your RV gives you on travel day, the more time you get to spend actually enjoying where you’re going.