
How to Put a Real Bathroom Faucet in Your RV
This post contains affiliate links. If you buy through them, we may earn a small commission at no extra cost to you. It helps keep HoppingStates rolling. Thanks for that.
Yesterday we put a real kitchen faucet in the RV, and the obvious question followed right behind it. What about the bathroom?
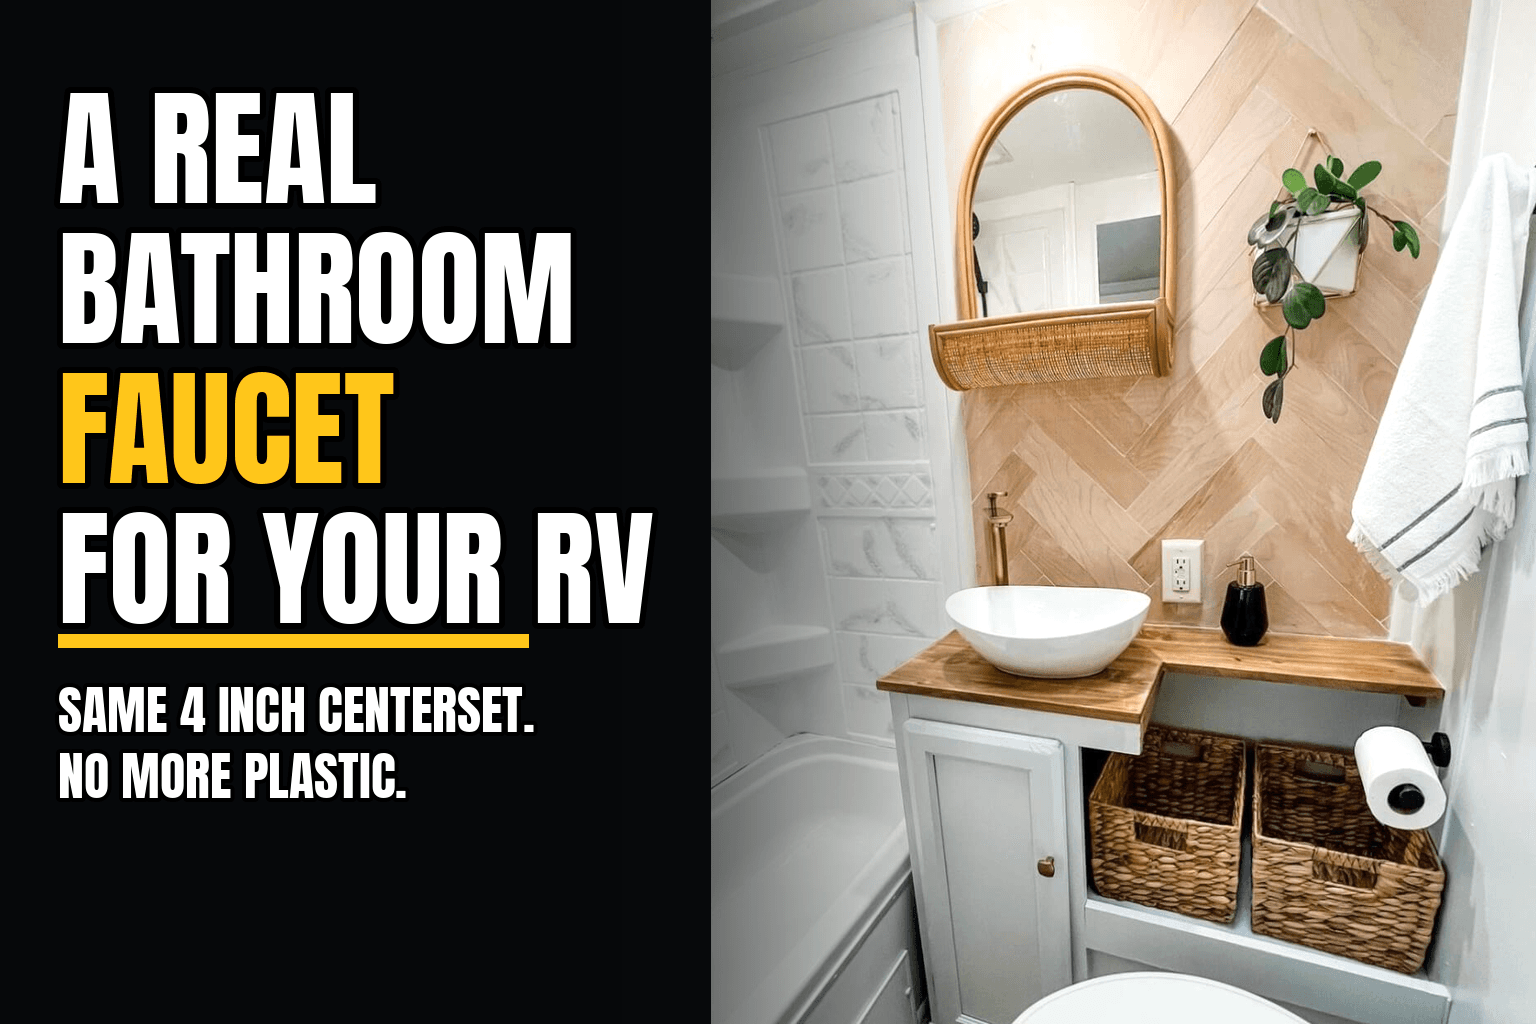
Same answer. The little plastic faucet over your RV bathroom sink is not some special RV only part. Underneath the styling, it is a standard 4 inch centerset faucet, the same mounting pattern used on millions of home bathroom sinks. Which means a real metal home faucet, the kind with some weight to it and handles that do not feel like they will snap off, drops into the same holes.
The bathroom version of this swap is actually the easier of the two. The space is tighter, but the job is smaller, the parts are lighter, and the payoff is daily. You wash your hands, brush your teeth, and wash your face at that sink more times a day than you think about. Here is how to check the fit, how the swap goes, and the two RV specific gotchas that catch people, one of which has nothing to do with the faucet at all.
Why the Stock RV Bathroom Faucet Is So Bad
Builders pick bathroom faucets the same way they pick kitchen faucets. Light, cheap, and good enough for the showroom.
The result is a faucet with a spout so low you can barely get both hands under it. Washing your face means cupping water like you are camping at a creek. The handles are hollow plastic. The finish is plastic pretending to be chrome, and it starts peeling right where your wet hands grab it every day.
Then there is the drip problem. Cheap cartridges wear fast, and a bathroom faucet that drips into the sink all night is more than annoying in an RV. That water comes out of your fresh tank and goes into your gray tank, one slow drip at a time, whether you are using it or not.
A metal faucet with ceramic cartridges fixes the feel and the drip in one move.
The Fit Check: 4 Inch Centerset
Before you order anything, confirm your sink uses the standard pattern. Most RV bathroom sinks do.
Measure the hole spacing. On a centerset faucet, the handles sit 4 inches apart, center to center. If your current faucet has two handles close to the spout on one base, it is almost certainly a 4 inch centerset. If you have a single handle in the middle with wide separate handles, that is an 8 inch widespread, and this post is not your faucet.
Check the hole size and deck thickness. The faucet we link below fits mounting holes from 7/8 inch to 1 3/8 inch, and a deck up to 1.2 inches thick. RV counters are usually thin, so thickness is rarely the problem, but check anyway, especially if your sink is a molded one piece unit with a thick lip around the faucet holes.
Look underneath before you buy. Get your head in the vanity cabinet with a flashlight. You want to see the two mounting nuts, the two supply connections, and enough room to get a hand or a small wrench in there. Some RV vanities are wide open. Some have the sink bowl, a shelf, and plumbing all fighting for the same six inches. Knowing which one you have changes how relaxed this job is.
Check your supply connections. This is the same checkpoint from the kitchen faucet post. Home faucets come with 3/8 inch supply connections. RV plumbing is usually 1/2 inch. If your rig has 1/2 inch fittings at the sink, you need the same little brass reducer adapters we used in the kitchen, one per line. Look at what is under there now so the part is on hand before you start, not discovered mid job with the water off.
The Faucet We Would Use
For our bathroom, the style match to the gold kitchen faucet is the Hurran 4 inch Brushed Gold Bathroom Faucet. Here is what matters about it for an RV.
It is stainless steel and lead free. A real metal body that meets lead free standards, not plated plastic. It has the solid feel the stock faucet is missing.
The spout is 5.2 inches high with a 4.8 inch reach, and it swivels 360 degrees. That height is the whole ballgame in a tiny sink. You can actually get your hands and a washcloth under it, and the swivel lets you push the spout aside when you need the whole bowl.
It flows 1.2 gallons per minute. Home faucets run higher. In an RV, 1.2 GPM is a feature, not a compromise. It is plenty for hand washing, and it stretches your fresh water and gray tank capacity when you are off hookups. Hurran also includes an extra no flow aerator in the box.
The handles use drip free ceramic cartridges. Quarter turn levers, separate hot and cold, and no slow overnight drip quietly moving water from one tank to the other.
The box is complete. Faucet, matching pop up drain with a built in strainer, two 24 inch supply lines, mounting hardware, and instructions. The supply lines being included matters because your old plastic lines are worth replacing while you are in there anyway.
The brushed gold finish resists fingerprints and water spots. In a bathroom the size of a closet, the faucet is right in your face every morning. A finish that does not show every splash keeps the whole room looking cleaner. Hurran sells this faucet in other finishes too if gold is not your thing.
Hurran says installation takes about 15 minutes in four steps. That is a home bathroom number with open access. In an RV vanity, budget a relaxed 45 minutes, most of it spent folded into the cabinet. The work itself is the same four steps.
The Swap, Step by Step
-
Kill the water. Turn off the water pump and disconnect city water, then open the old faucet to drain the pressure. Many RVs have no shutoff valves at the bathroom sink, so the whole system has to be off. Put a towel in the cabinet. There will be more water in those lines than you expect.
-
Disconnect and remove the old faucet. Unscrew the supply lines from below, then the two mounting nuts. On plastic RV faucets the nuts are often hand tight plus grime. A basin wrench helps in tight vanities, but most come off with fingers and patience. Lift the old faucet out and scrape the deck clean.
-
Set the new faucet. Drop the faucet body into the holes, line it up straight before you tighten anything, then snug the mounting nuts from below. Snug is the word. RV counters and molded sinks flex, and cranking the nuts like lug nuts can crack a thin sink. Firm and even is the goal.
-
Connect the supply lines. Run the included lines to your connections, with the reducer adapters first if your rig needs them, just like the kitchen install. Hand tight, then about a quarter turn with a wrench. The washers do the sealing, not force.
-
Decide on the drain. Read the next section before you swap the drain. Seriously. Then either install the included pop up drain or keep your existing one.
-
Test like a pessimist. Water back on, pump on, and run both handles. Then dry everything under the sink with a paper towel and run it again. The paper towel finds drips your hand misses. Check again after the first travel day, because road vibration is the real final inspection.
Gotcha Number One: The Drain Overflow Trap
This is the one that gets people, and it has nothing to do with the faucet itself.
The pop up drain included with this faucet, and with most home faucets, is built for a sink with an overflow. That is the little slot near the top of a home sink bowl that catches water before it spills. The drain has openings in its side that line up with that overflow channel.
Many RV sinks have no overflow at all. The bowl is just a bowl. If you install an overflow style drain in a sink without an overflow, water sitting in the bowl can reach those side openings and weep down the outside of the drain pipe, inside your vanity, where you will not see it until the cabinet floor tells you.
So before you touch the drain, look at your sink. See an overflow slot near the top of the bowl? You are fine, swap the drain and enjoy the matching pop up with its hair catching strainer, which is a genuine upgrade in a family bathroom.
No overflow slot? You have two clean options. Keep your existing drain and just swap the faucet, which is a perfectly good install. Or seal and use the pop up only if its openings sit fully below your bowl's drain flange seat, which on most thin RV sinks they do not. When in doubt, keep the old drain. The faucet is the upgrade you feel every day. The drain is jewelry.
Gotcha Number Two: Thin Sinks and Road Vibration
RV sinks are thin plastic, fiberglass, or lightweight stainless, and they flex in ways a porcelain home sink never will. Two habits protect you.
First, tighten for the material, not for your peace of mind. Mounting nuts and drain hardware get snug plus a little, never reefed down. Over tightening is how thin sinks crack around the holes.
Second, recheck after the first drive. A home faucet never rides down a washboard road at 60 miles an hour. After your first travel day with the new faucet, open the vanity, run the water, and feel every connection. Thirty seconds. This one habit is the difference between an upgrade and a slow leak story.
Winterizing Note
Nothing about this faucet changes winterizing, with one addition. The pop up drain, if you installed it, holds a little water in its mechanism. When you winterize, run antifreeze through the bathroom sink like you already do, and pop the drain open and closed a couple of times so antifreeze reaches the moving parts. Ten extra seconds on the checklist.
When Not to Do This Swap
Skip it, or at least pause, if your sink is a single hole vessel setup, if your faucet is an 8 inch widespread, or if the connections under your vanity are corroded or patched with tape and hope. That last one is a plumbing repair first and a faucet swap second. And if your vanity access is through a panel the size of a paperback book, know that going in. The job is the same, your mood will not be.
The Bottom Line
The bathroom faucet is the highest touch cheap part in the whole RV. A standard 4 inch centerset means a real metal home faucet fits, with a taller spout you can fit your hands under, ceramic cartridges that do not drip your fresh water into the gray tank, and a finish that makes the smallest room in the rig look intentional.
If you want the one we would use, here it is again: Hurran 4 inch Brushed Gold Bathroom Faucet. Measure your hole spacing first, check for an overflow slot in your sink, and plan on the reducer adapters if your lines are 1/2 inch, same as the kitchen.
Tomorrow we move from water to the front door, with a screen door fix that anyone traveling with dogs or kids will understand immediately.